April in the Garden! Happy Easter 2021!
Hello Hello, dear gardening friends!
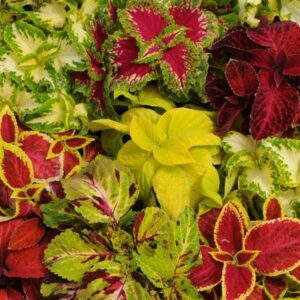
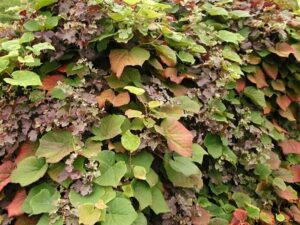
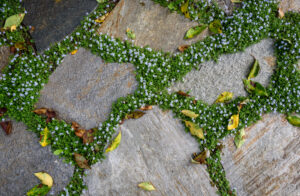
April usually marks the unofficial beginning of Autumn and the beginning of the longest season of the Kulin nation; ‘Waring’ or Wombat season! Unlike autumn, which lasts from March-May, Waring lasts from April to July. It marks the beginning of misty mornings, low temperatures and higher rainfall. Days begin to get shorter and brilliant fungi start to appear. And how can we forget the stunning change of foliage colour amongst Melbourne’s gorgeous deciduous plants!

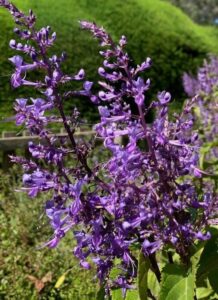
All over the city, our giant trees are putting on a display of reds, oranges and yellows, their spent leaves colouring the footpaths and streets. Golden Elms and Ash are shining gold beacons, Scarlet Oaks and Maples produce vibrant lipstick reds and Japanese Maples start to really shine with varying colours, all on a single tree. This time of year is not only about colourful foliage. Camellia’s are beginning to flower, Native Violets are covered with upright purple flowers that the bees adore, Salvia’s and Gazania are continuing their summer flower display along with newly budding flowers of Pimeleas, Daisies and Alyssum.
Free Weeping Cherry offer with Garden Designs!
Make sure to check out our Free Advanced Weeping cherry offer that comes with our Free Garden Design service by Chris! Click here to read more!
Preparing the Garden
Autumn is a very busy time of the year for gardeners. Soils still retain their summer warmth and become moist with more rainfall, making it a great time to plant and prepare garden beds. Free mulch literally falls from the sky with autumn leaves, which can be turned into the soil or compost, making your soil fluffy and rich, ready for planting. It is also a good time to turn in any aged compost and mulch, and remove spent summer vegetables, ready for your next crop. You may have already begun this process following our ‘March in the Garden’ article, but if you haven’t, you definitely need to get onto it now! It may not seem like it but this can take some time to do, but boy is it worth it.
What to Plant
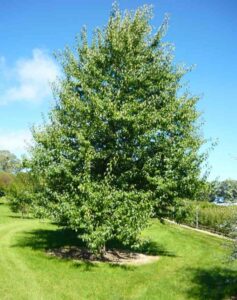
Your garden is now becoming prepped for new planting. Deciduous trees, are best planted in autumn. The soil needs to be soft, well-draining and have minimal nutrients in it. Make sure you haven’t added any extra fertilisers into the soil before you plant a deciduous tree or shrub as this can give it a rude awakening. Deciduous plants are going into dormancy for winter and won’t require any fertiliser until late winter-early spring. Birches, Elms and Ashes make for great planting now. Weeping Cherries and Japanese Maples are ideal feature trees for a small suburban garden and are beginning to put on quite a show!
For the non-deciduous plants that are ready for autumn and Winter flowering, they will require some food to produce their beautiful blooms. Beautiful autumn and winter bloomers such as Camellia’s and Azalea’s will need a fertiliser such as Osmocote Controlled Release Fertiliser: Roses, Gardenia’s, Azalea’s and Camellia’s. The right balance of nutrients and minerals coupled with the correct soil pH produce the perfect blooms. If your flowers aren’t forming correctly or the colours aren’t right, it could be a pH or fertiliser problem so this is something to keep in mind when they first start to form.
It is not commonly known but autumn marks the start of the best planting time for natives. It is ideal to plants natives from autumn through to spring when the temperatures aren’t so harsh. And there are some absolutely iridescent natives that put on a spectacular show during this time of the year. Victoria’s floral emblem, Epacris impressa or Common Heath is currently putting on quite a show throughout the Wombat State and other forests. Though usually flowering in late autumn, it has decided to start early this year. Other stunning flowering natives include Banksia’s, which are much loved by cockatoos, Crowea and Correa. Click here to see all our Native plants!
Get your spring-flowering bulbs in the ground by the end of April. Refrigeration or cooling of bulbs in the soil during winter help produce taller flowers with better blooms in the spring. Some of the best producing bulbs are Daffodils, Tulips and Iris.
Fungi and Mushrooms
 As the days get cooler and the nights longer, autumn provides a fantastic opportunity to throw on some warm clothes, get outside into the fresh air, and go mushroom foraging.
Mushrooms are rich in B vitamins: riboflavin, niacin, and pantothenic acid. The combination helps protect heart health. Riboflavin is good for red blood cells. Niacin is good for the digestive system and for maintaining healthy skin.
The mushroom season in Victoria depends on many factors, however, as from April to June are fairly ideal for foraging, with many tours operating during these months.
Important note about wild mushroom safety: While Victoria has a good variety of edible, wild mushrooms, the region is also home to a number of mushroom species that can cause illness and/or death. These include the yellow stainer (Agaricus xanthodermus) and death cap (Amanita phalloides). The Victorian Government’s Better Health website has further information on the risks of consuming wild mushrooms in Victoria.
You can also visit Facebook groups such as Australia & New Zealand Fungus Identification But always be cautious with online advice.
Mushroom foraging guided tours
Instead, look into mushroom tours offer a great chance to learn how to correctly identify edible mushrooms (and avoid the poisonous ones). Here are some tours that you could join:
-Mushroom Foraging & Lunch at lil’ acres,Woodend, Vic 3442.
-Maxs May Mushroom Meander- Red Hill, Victoria.
-Mushroomtours, Moorooduc.
Growing your own mushrooms!
There are several great workshop and mushroom growing suppliers in Melbourne that can assist you in this fun adventure.
-Milkwood (Online)
-The Mushroomery (In Person)
What to do if mushrooms pop up in the garden or pots?
Mushrooms growing in your garden beds or pots are an indication of healthy soil. The mycorrhizal/fungal network connect individual plants together and transfer water, carbon, nitrogen, and other nutrients and minerals. The actual mushroom is only the fruiting body of that network and is responsible for spreading spores to colonise new places. They also assist to decompose organic matter and make it available to other plants. So if you see mushrooms or fungus growing in your patch or pots, you can safely leave them there. Inform your children that these are poisonous and not to eat them. Pets usually are not interested in mushrooms, but if you have a curious pet, it would be better to pull them out.
Mulch
Mulch that was laid down in spring or summer last year should still be thick enough to protect your plants this Autumn, so you do not need to top it up. As a matter of fact, if your mulch has not broken down much and is still quite thick, i.e over 4 inches, you might want to remove some of it to keep about 1-2 inches tops. A thick mulch layer will retain too much humidity over in the cool and wet Autumn weather and create the perfect environment for a host of diseases, especially fungal ones, that will spread to and affect your plants. Excess mulch can be saved for later or be added to the compost heap. 
The Vegetable Patch
Most summer crops that have provided a bounty of fresh veggies are now looking a bit scraggly, reaching the end of the lifecycle. They can be pulled out, chopped up and composted as long as they are disease-free. Some chillies, capsicum and eggplant can be left a little longer in the ground until they are done fruiting. You can try to keep your chillies and capsicum going over winter by having them in a pot, protected from the cold and frost over the coming months.
- Harvest most of your summer crops because the cool weather prevents them from growing any more or ripening. There are many great ways to preserve excess produce such as Fermenting, Canning, Snap Freezing, Pickling, and Drying. You can also donate the excess to charity associations such as Foodbank and Fareshare. You can also look into swapping produce at swap meetups, which you can find via Local Food Connect.

- Before planting Autumn and Winter veg, enrich your soil by top dressing with some compost and manure and let it settle for a week. If the soil is too hard from being baked by the summer heat, you can gently turn it over to incorporate some organic matter into it, which will make new crops grow better. If you have hard or clay soil you can also add some soil wetter to make water penetrate more easily and retain moisture.
- Give new seedlings a good boost with an application of liquid fertiliser after a week and they will reward you later on.
- If you are not too keen on Autumn or Winter veggies you can plant some green manure crops to allow your soil to improve while waiting for Spring and Summer planting. But if you are, here is a little list of what can be grown right now:
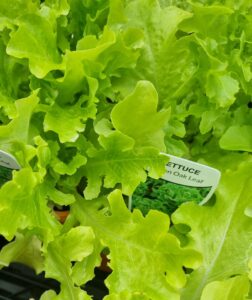
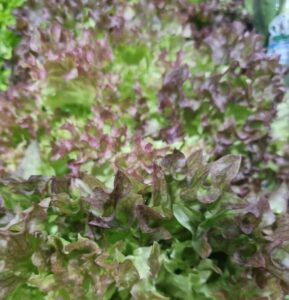
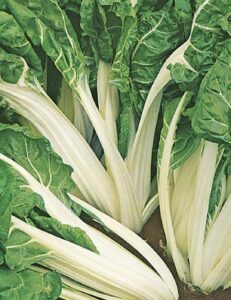
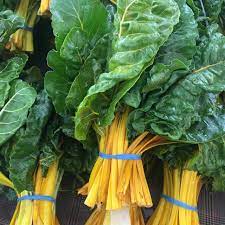
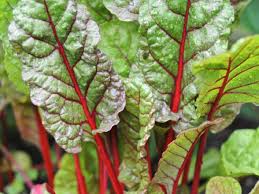
-Greens such as silverbeet, leeks, celery, watercress, lettuce, rocket, spring onion.
-Herbs such as parsley, thyme, oregano, coriander etc
-Asian greens such as Pak Choi, Kailan, Choi Sum
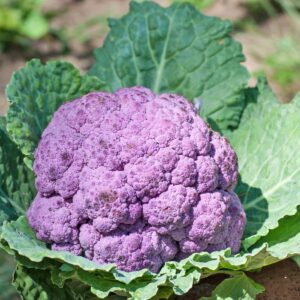
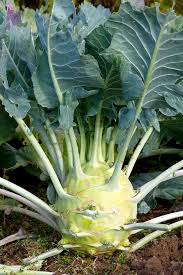
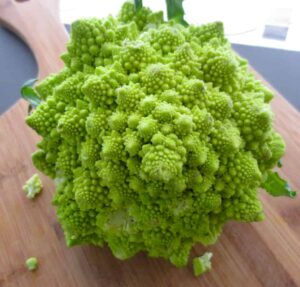
-Brassicas such as broccoli, cauliflower, cabbage, Brussel sprouts.
-Root veggies such as beetroot, turnip, radish, parsnip, onions, carrots and garlic.
-Legumes such as sugar snap peas and broad beans.
Check out our available range of vegetables and herbs.
How to ripen up your green tomatoes!
You can either ripen your tomatoes indoors or on the vine. You can coax the ripening process from green to red when tomatoes are taken indoors—a much better plan than leaving them to wither on their vines. The key to ripening tomatoes is a warm, enclosed and dry environment. Tomatoes need warmth to ripen.
- In the bag: To ripen a few green tomatoes, put them in a paper bag, close it up, and store them in a warm location in your home. Kept enclosed together, the ethylene they emit will stimulate ripening. You can add a ripe banana or apple as well to speed things up. Once a tomato is ripe, remove it from the bag and enjoy it right away. Check the bag daily for mould or rot and remove any spoiled pieces.
- Box method: If you have several green tomatoes you want to ripen, consider using a cardboard box. Place them in the box so they do not touch one another. You can add a ripe banana as well. Close the box and, as with the bag-ripening method, check daily for mould and rot, or full ripening, and remove those tomatoes.
- The windowsill approach: Try this if your tomatoes have already started to show some ripened colour. Simply put them on the sill of a window that gets sunlight. Inspect them daily for progress. You can also remove tomatoes you have ripening in a bag or box once they start showing signs of colour and continue their ripening on the window sill.
To ripen tomatoes on the vine you can try:
- Removing flower clusters. Pluck new flower clusters from tomato plants that have already set fruit. Removing flowers will direct the plant’s energy into ripening the fruit already maturing on the vine.
- Removing small or excess fruit. Pick small or excess fruit off of the tomato plant. Removing immature fruit or fruit you will not use will allow the plant to divert energy into ripening larger, already maturing fruit. Tomatoes that reach “mature green” size and have their first blush of colour can be ripened off the vine at room temperature.
- Removing some leaves. Pinch away suckers and lower leaves. Tomato plants almost continuously produce new shoots–called suckers–between the main stem and lateral branches. Pinch or prune away this new growth so that the plant can channel its energy into producing and ripening fruit rather than producing new leaves. Leaves just above fruit or fruit clusters should be left in place to protect the fruit from sunburn. Leaves low on the plant that turns yellow or brown or diseased leaves should be removed. These leaves are taking energy away from fruit ripening.
- Reducing water and food late in the season. Reduce water and fertilizer to encourage “mature green” fruits to ripen. Fertilizer–especially excess nitrogen–encourages new leaf growth at the expense of fruit growth and maturation. (Use fertilizer low in nitrogen 4-8-4 for tomatoes.) Reducing water as fruits reach mature size will enhance ripening (and concentrate flavour) and direct the plant’s energy away from new fruit set to ripening fruit already on the vine
- Some gardeners swear by feeding their tomato plants unsulfured blackstrap molasses, saying that the molasses not only provides tomato plants with energy but also makes ripening tomatoes sweeter and increases microbial activity in the soil. Use about a cup of molasses per two gallons of water, applying no more than once per week.
Pests and Disease
Humid and cool conditions can cause a proliferation of pests and diseases in the garden. Identify them early, treat them, and keep your plants healthy all through Autumn and Winter.
- Leaf Miner and Citrus Leaf Miner. These are small nocturnal moths that lay their eggs on the underside of soft fresh leaves of citrus and other seedlings. The eggs hatch and the larvae rapidly burrow under the surface of the leaf, and it is these larvae that cause all the damage. The larvae feed on the epidermal cells of the leaf, creating a silvery snake-like ‘mined’ damage to the leaf, which eventually curls up. The best way is to control them is using eco oils, sprayed fortnightly above and below the leaf of plants. This will also deter many other pests. A chemical/biological control is Spinosad (marketed as Success by Yates) is also reputed to be effective against leaf-miners.

- Cabbage Butterflies and Moths. White Cabbage butterflies lay their eggs on our Brassicas, such as broccoli and cauliflower. Little green caterpillars hatch from these eggs and then get to work chewing holes through the plants. There are several ways to control them.
- Netting- You can protect your young crop by covering them with netting that would prevent the butterflies from reaching them.
- Companion plants- Plant some strong-smelling herbs such as lavender, sage, and rosemary seem to discourage cabbage moths from settling and laying eggs. Try planting them around the edges of your patch to form an odour barrier. You can also plant decoy plants such as nasturtiums, dill, and mustard, which will draw egg-layers away from your main crops.
- Using decoy ‘Scarecrows‘- Cabbage moths are highly territorial and will avoid laying eggs where there’s already competition for food. Use little decoys around brassicas to send them somewhere else. Here is a great little printable template that you can use. Click Here to see the template. This template was created by the Australian Butterfly Conservation.
- Dipel – An organic biological insecticide which is based on Bacillus thuringiensis var. kurstaki, which is an insecticide derived from beneficial bacteria found in soil, on plant surfaces and also in insects. It specifically targets caterpillars and is safe for beneficial insects such as ladybirds and bees.

- Other Pests. Thrips, Mites, Scales, Aphids, and Whiteflies are other bugs that cause a lot of damage to our plants. Here is a very natural way of controlling them by using nature itself. Bugs for Bugs is a company that specialises in integrated pest management (IPM) and is one of Australia’s leading suppliers of biological control agents. Here is a great little chart for controlling bugs by using bugs.

Click here to see their website. Or visit their Facebook page! 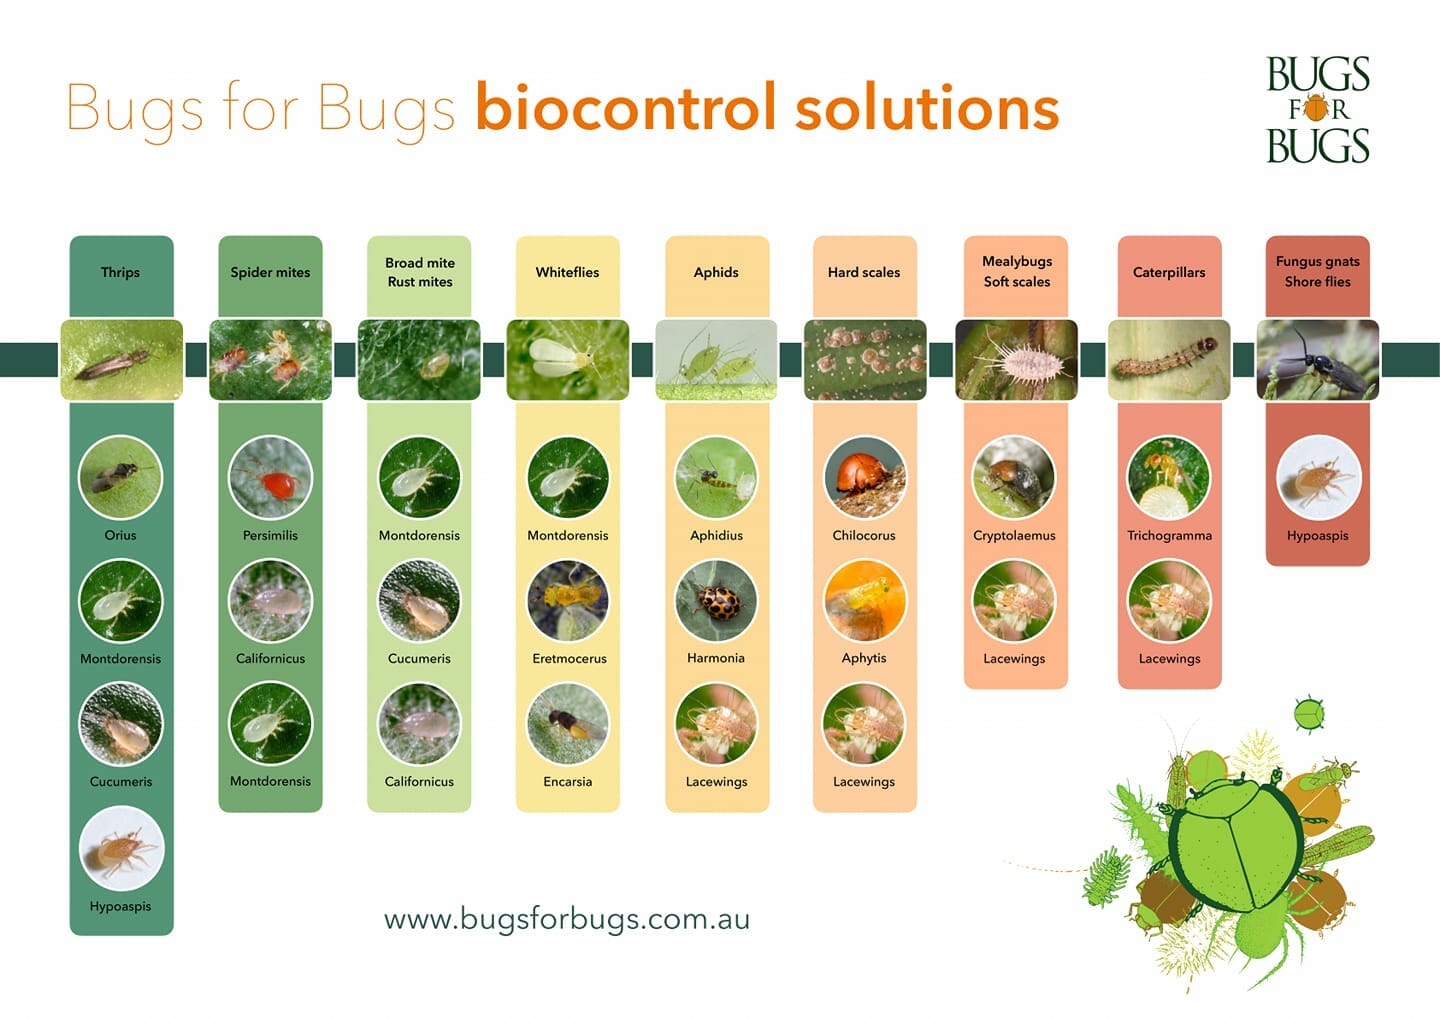
- Blackspot and Rust commonly affect Rose plants. If you notice any of those on your roses, you can cut them back lightly, remove the diseased leaves, spray the remaining leaves with some organic copper-based fungicide, and also fertilize them to encourage new growth and blooms.
- Powdery mildew is one of the most commonly occurring plant problems at this time of the year. It is a fungal disease that affects plant leaves and stems, coating them in what looks like a white or grey powder-like substance. In severe cases, powdery mildew can even spread to the buds, flowers, and fruits of plants. A simple remedy is a good spray of the following mix: 1 tablespoon baking soda with 1 tablespoon vegetable oil and 1 teaspoon dish soap in 1 gallon of water. Another option is a mix of 1 part milk with 10 parts of water. If this natural remedy fails to get rid of it, you can look into Sulphur based fungicides.
- Root rot and Wet Feet are the most damaging ailments our houseplants can suffer from, and one of the most common. An infection can destroy a plant literally from the ground up. It spreads quickly, and without prompt action, it’s soon too late. Roots of plants affected by root rot may turn from firm and white to black/brown and soft. Affected roots may also fall off the plant when touched. The leaves of affected plants may also wilt, become small or discoloured. Affected plants may also look stunted due to poor growth, develop cankers or ooze sap. Once root rot is identified, you must determine if the plant can be saved. If the entire root system has already become mushy, it is too late to save the plant. However, if some healthy, white, firm roots exist, try to bring the plant back to good health by replanting in fresh soil with good drainage.Click here to read more about wetfeet.

Here are our top Specials for this month!
Feature Trees
Tall Hedges and Screening
Borders
Colourful
-
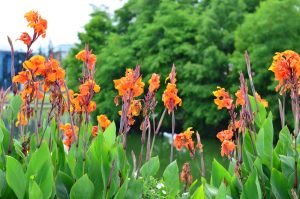
Canna Lily ‘Dwarf Tropical Orange’ 8″ Pot
0Original price was: $19.99.$7.99Current price is: $7.99. -
SUPER CHEAP!!
Indoors
Edibles
Modern
Natives
Climbers
Groundcovers!
We will update this list with more specials during the week, so check back in! 🙂
Click here to see even more Specials!
That’s all for this month! Thanks for reading our Gardening in April Article. 🙂
See you in-store here at 1477 Sydney Road, Campbellfield!
Gardening in Autumn, April in the Garden. Melbourne, Victoria, Australia.


